

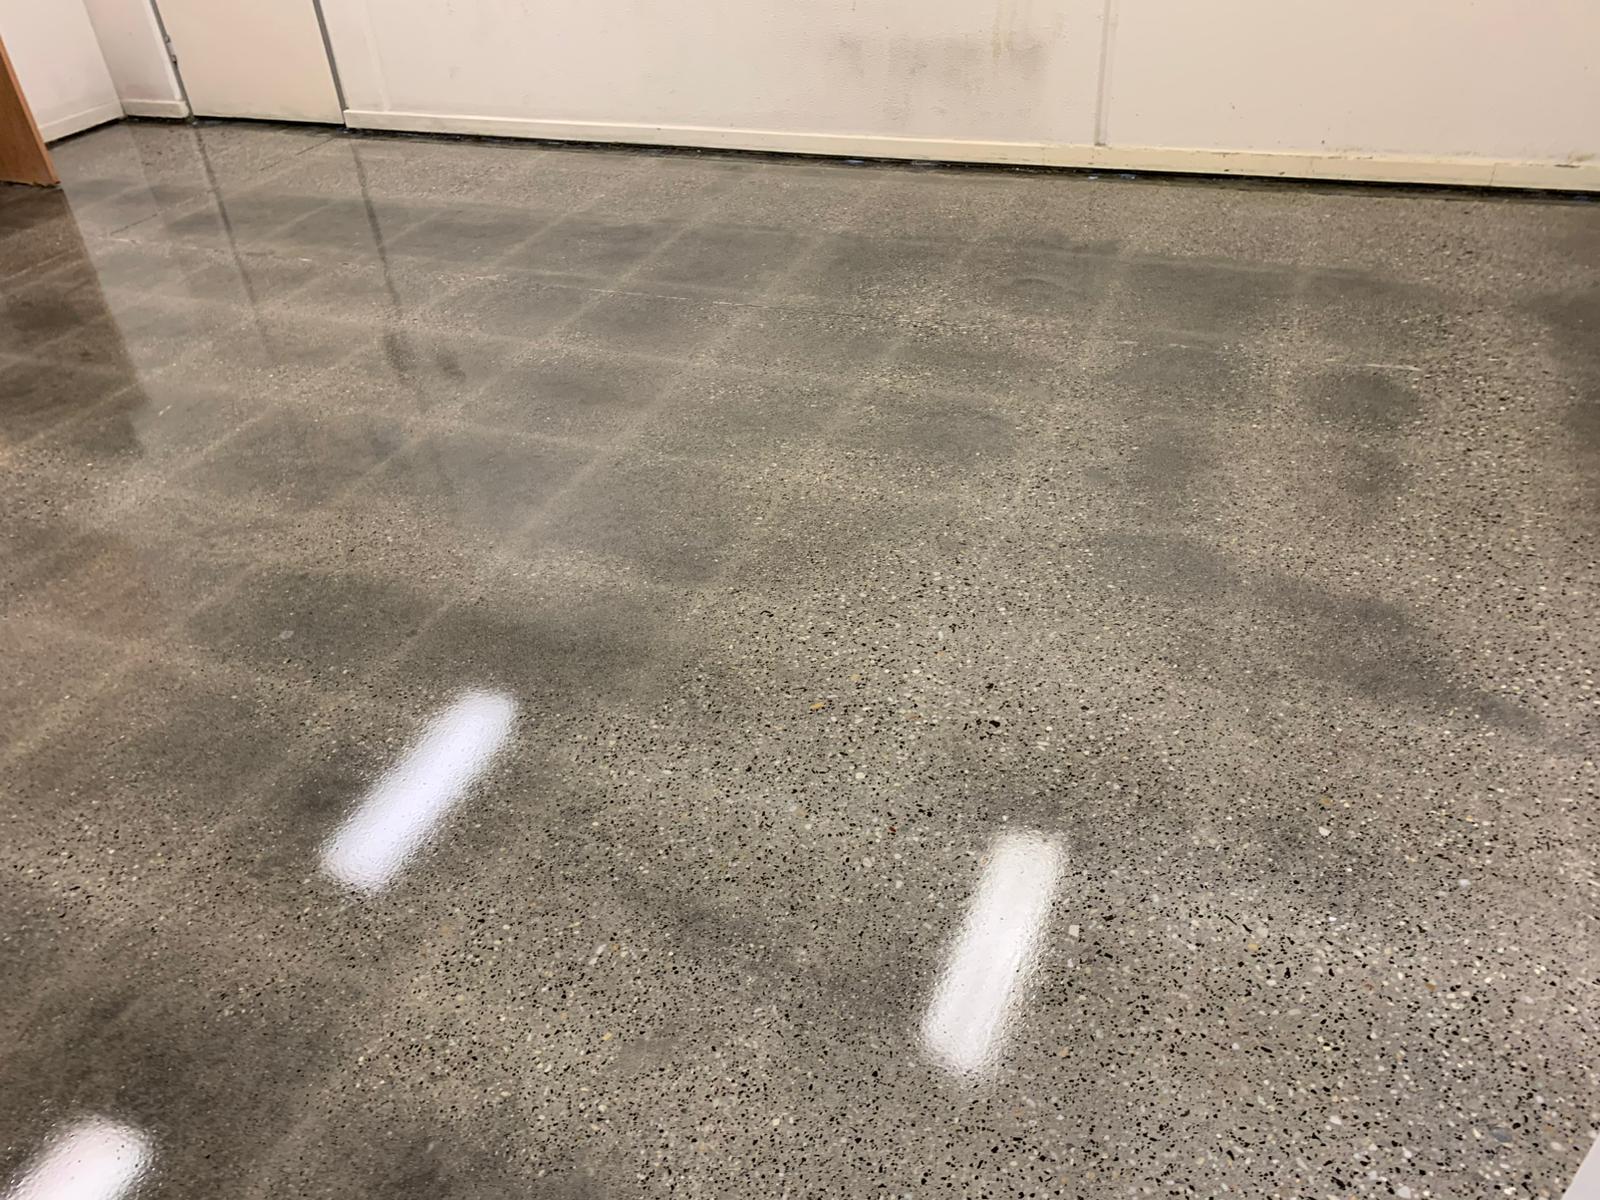
How to Prepare Your Concrete Floor for Epoxy Coating
by Danick Flooring Services
Ask any experienced epoxy flooring professional what the most important part of the job is, and the answer will always be the same: surface preparation. The preparation of the concrete slab before a single drop of epoxy is applied determines whether the coating will bond properly, perform as expected, and last for years, or whether it will peel, bubble, and fail prematurely. In this guide, we walk through each step of the concrete preparation process and explain why cutting corners at this stage is the biggest mistake you can make.
Why Preparation Is the Most Important Step
Epoxy flooring does not simply sit on top of concrete like paint on a wall. It forms a chemical and mechanical bond with the surface. For that bond to be strong and lasting, the concrete needs to be clean, structurally sound, dry, and properly profiled. Without these conditions, the epoxy has nothing to grip onto and will eventually let go.
Industry data consistently shows that the vast majority of epoxy coating failures can be traced back to inadequate surface preparation. This is not a step that can be rushed or skipped without consequences.
Step-by-Step Concrete Preparation
Step 1: Initial Assessment
Before any work begins, the concrete floor needs a thorough assessment. This involves examining the slab for:
- Existing coatings or sealers. Previous paint, sealers, or coatings must be identified and removed. Epoxy cannot bond reliably over unknown existing coatings.
- Cracks and damage. Cracks, spalling, and surface defects need to be catalogued so they can be repaired.
- Surface contamination. Oil stains, grease, tyre marks, and other contaminants must be identified and treated.
- Slab condition. The overall condition of the concrete, including whether it is structurally sound, is assessed.
This assessment informs the preparation plan and helps identify any issues that could affect the coating's performance.
Step 2: Cleaning
The floor must be thoroughly cleaned to remove all surface contaminants. This typically involves:
- Sweeping and vacuuming to remove loose debris and dust
- Degreasing any oil or grease stains using appropriate cleaning agents
- Scrubbing stubborn stains that have penetrated into the concrete
In some cases, particularly in garages and workshops with years of accumulated oil and grease, multiple cleaning passes may be necessary. Any oil that remains in the concrete can prevent the epoxy from bonding in that area.
Step 3: Moisture Testing
Moisture is one of the most common causes of epoxy failure, and it is a particularly relevant concern in Melbourne where many older homes have slabs without adequate moisture barriers. Moisture can migrate up through the concrete from the ground below, creating hydrostatic pressure that pushes the epoxy coating off the surface.
Professional moisture testing methods include:
- Calcium chloride test (ASTM F1869). This measures the moisture vapour emission rate from the concrete surface over a set period.
- Relative humidity test (ASTM F2170). In-situ probes are placed in drilled holes to measure the relative humidity within the slab itself.
- Plastic sheet test. A simple preliminary test where a plastic sheet is taped to the floor for 24 to 48 hours to check for condensation beneath it.
If moisture levels exceed the acceptable range for the chosen epoxy system, a moisture mitigation primer or barrier may need to be applied before proceeding. Ignoring moisture issues will almost certainly lead to coating failure.
Step 4: Crack and Defect Repair
Once the floor is clean and dry, all cracks and defects are repaired. This includes:
- Hairline cracks filled with a flexible epoxy filler
- Wider structural cracks routed out and filled with a suitable repair compound
- Spalled or damaged areas patched with a cementitious or epoxy-based patching compound
- Expansion joints assessed and treated appropriately (these are typically left as movement joints rather than filled)
Proper crack repair prevents the defects from telegraphing through the new coating and ensures a smooth, even finished surface.
Step 5: Mechanical Grinding and Profiling
This is the step that truly separates professional preparation from DIY attempts. The concrete surface must be mechanically profiled to create a texture that the epoxy can grip onto. Think of it like sanding timber before painting: a smooth surface gives the coating nothing to hold onto, while a properly profiled surface provides thousands of tiny anchor points.
Professional concrete grinding involves:
- Diamond grinding machines fitted with appropriate diamond segments for the concrete hardness
- Progressive grinding to achieve the specified Concrete Surface Profile (CSP), typically CSP 2 to CSP 3 for most epoxy systems
- Edge grinding using smaller machines to ensure complete coverage right up to walls and obstacles
The grinding process also removes any remaining surface contaminants, laitance (the weak top layer of concrete), and minor imperfections. It is the single most effective step in ensuring long-term adhesion of the epoxy system.
Acid etching, which is sometimes suggested as an alternative in DIY guides, is not a reliable substitute for mechanical grinding. Acid etching produces an inconsistent profile, can leave chemical residues, and does not remove existing coatings or sealers.
Step 6: Dust Removal
After grinding, a significant amount of fine dust is generated. This dust must be completely removed before priming. Professional teams use industrial vacuum systems, often with HEPA filtration, to extract dust from the surface and the surrounding area.
Even a thin film of dust left on the concrete can act as a bond-breaker between the slab and the primer. Thorough dust removal is a simple but critical step.
Step 7: Priming
The final preparation step is applying a primer coat to the clean, profiled concrete. The primer serves several purposes:
- Penetrates into the pores of the concrete to create a deep bond
- Seals the surface to prevent air bubbles (outgassing) from forming in the subsequent epoxy layers
- Provides a consistent base for the epoxy coat to bond to
The type of primer used depends on the condition of the concrete and the epoxy system being applied. In cases where moisture is present, a moisture-tolerant or moisture-mitigating primer is used.
Common Preparation Mistakes
Understanding what can go wrong helps illustrate why professional preparation is so valuable. The most common mistakes include:
- Skipping moisture testing. Assuming the slab is dry because it looks dry is a recipe for failure. Moisture issues are often invisible until the coating starts to blister and peel.
- Using acid etching instead of grinding. Acid etching does not create a reliable, consistent profile and can leave residues that interfere with adhesion.
- Insufficient cleaning. Oil and grease that have soaked into the concrete over years cannot be removed with a single pass of a mop. Deep contamination requires proper degreasing and sometimes grinding to remove the affected layer.
- Applying over existing coatings. Painting epoxy over old paint or sealer without testing adhesion and compatibility is a common cause of widespread delamination.
- Rushing the process. Proper preparation takes time. Trying to complete it in a few hours instead of a full day leads to shortcuts that compromise the finished result.
- Inadequate crack repair. Filling cracks with inappropriate materials or skipping them entirely leads to visible defects in the finished floor and potential failure points.
Why Professional Preparation Is Recommended
While some homeowners are tempted to tackle concrete preparation themselves, the equipment and expertise required make it a job best left to professionals. Commercial diamond grinding machines, industrial vacuums, and professional moisture testing equipment are expensive and require training to operate effectively. A professional team can assess, prepare, and prime a standard double-garage floor in a single day, creating the ideal foundation for a long-lasting epoxy coating.
At Danick Flooring Services, surface preparation is the foundation of every project we undertake across Melbourne and Victoria. We never cut corners on this stage because we know from experience that proper preparation is what separates a floor that lasts 15 years from one that fails in 15 months. Contact us to discuss your project and receive an obligation-free quote.
Posted in Maintenance Tips
Leave a Comment
Your email address will not be published.